This week, I’ll be talking about creating a Virtual Machine in Windows that I can use while learning PowerShell!
What is a Virtual Machine?
A Virtual Machine (VM) is basically a computer within a computer. When you create a Virtual Machine, you’re simulating another device within your existing computer. So for example, even if my computer is a Windows PC, I could create a virtual machine inside of it that simulates a type of Linux, or even another Windows PC.
(While you can run a Windows VM on a Mac, you can’t legitimately do it the other way around, as far as I’m aware, but please feel free to comment with any info I don’t know about this)
This simulation uses as much or as little of your computer’s resources as you want. You can use a percentage of your hard drive storage that you define as the computer’s hard drive, choose whether the virtual machine can use your computer’s internet connection and disk drives, etc. Generally, in most cases though, Virtual Machines are isolated from at least some of your system’s resources for reasons I’ll discuss in a minute.
So in this case, I’m going to create a simulated computer inside my computer that runs Windows, and has 50GB of free hard drive space. This will create a large file on my computer that is my “virtual” computer.
What’s the use for Virtual Machines?
So many things! Let’s say you have a program that’s not compatible with your operating system or that you want to test how it works on a Mac, Linux, etc. Creating a VM is significantly cheaper and faster than buying/setting up a whole new computer just to test something.
Separately, let’s say you’re a cybersecurity person and you want to test a suspicious file in an isolated environment to see what it does/if it’s a virus. VMs can be an isolated sandbox environment where you can run things without impacting the rest of the computer. And if it does destroy or break the VM, you can quickly delete the virtual machine and create a brand new one, exactly the same as before you tested the file.
(This is where you want to be careful about what kind of access the simulated computer has to your real computer; there are techniques employed by some malicious actors that can “break out” of the VM and access your actual computer, a process known as “VM Escape.”)
My situation here is somewhat similar to the security use case. Because accidentally entering the wrong command in PowerShell has the potential to break a computer (or lots of computers, it’s that powerful), I’m going to be learning it from within a VM.
How do I create a VM to try this myself? Is it expensive/difficult?
Not really! If you want an active copy of Windows/MacOS on the machine, that might cost you for the license. But you can always run a trial/deactivated version of Windows and most versions (“Distros”) of Linux are free if you want to use that.
For home use, there’s a lot of free software to create and manage VMs out there. This kind of software is called a “Hypervisor.” If you have a “Pro” version of Windows, you have access to Microsoft’s built-in hypervisor called “Hyper-V.” This is what I’m going to be using today because I haven’t tried using it before.
There’s also another popular hypervisor that I used back when I was studying for my Security+ and CySA+ certifications made by Oracle, called VirtualBox. When I was using it, I found it to be pretty straightforward. That said, Tom’s Guide has an excellent guide here on How to Set Up Virtual Machines with VirtualBox.
Setting up a Windows VM with Hyper-V
The first thing I had to was activate the Hyper-V feature on Windows 11 Pro. I clicked on the start menu and searched for “Hyper-V,” which brought up the “Turn Windows Features On and Off” option. Clicking on this brought up this Window:
When I checked the box for “Hyper-V,” it told me it needed to restart sigh
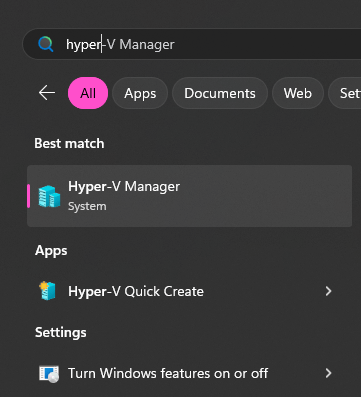
ANYWAY, once I restarted and logged in again, this time I had MORE options when I did another Windows search for Hyper-V, it brought up the “Hyper-V Manager” application, along with an option for Hyper-V Quick Create, which I’m assuming allows me to create a VM faster without actually taking the time to explore the program’s full features. So let’s try that first:
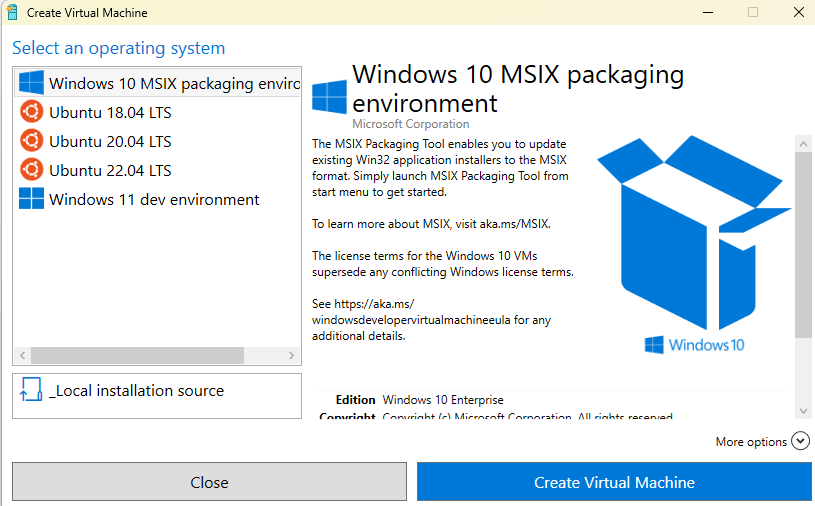
Nifty! So this gives me a few options, it looks like.
- There’s the MSIX packaging environment, which (best as I can tell from some quick internet research) is a virtual “container” that is designed to do one task – convert installers to the MSIX format. I’m not exactly sure what
- There’s three different versions of Ubuntu Linux
- And there’s the “Windows 11 Dev Environment” which creates a VM with an evaluation version of Windows
- You can also use “Local Installation Source,” if you want to install a different type of operating system not listed
I’m not in a rush and I was curious about the first option, so I clicked “Create Virtual Machine,” and Windows quickly downloaded the operating system
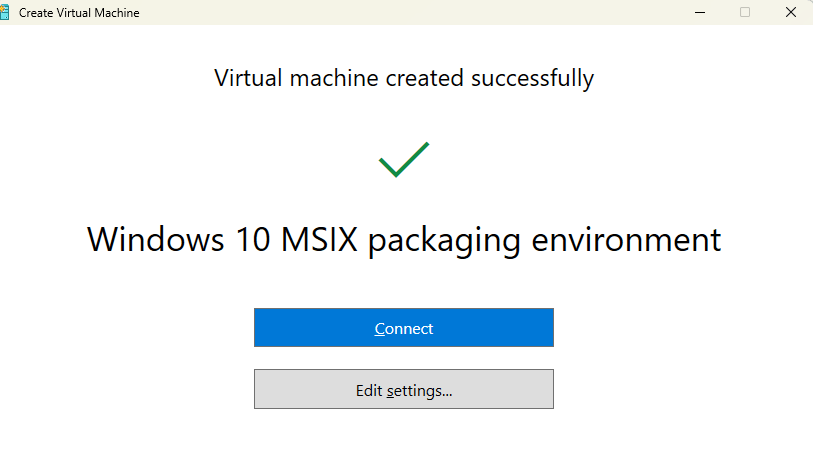
Interesting twist – when I first tried to take a screenshot of that window using a keyboard shortcut (Alt+Shift+S), it’s set to open the “Edit Settings” instead. I had to click out to take the screenshot.
The settings were interesting though: this is where I get to set the parameters of the VM – how much storage it uses, how much of the computer’s RAM it can access to run programs, how it connects to the internet, etc.
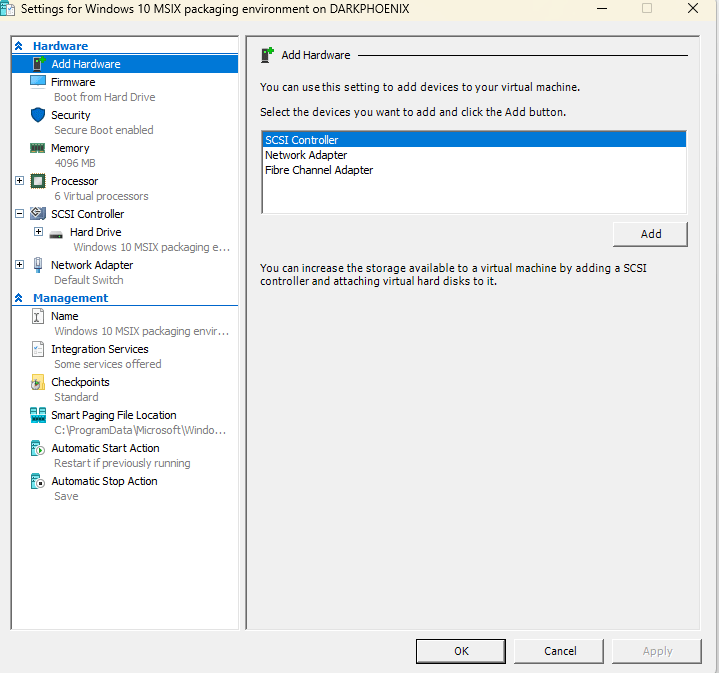
A few things I did here, I turned off the “Automatic Start Action” (which would have “Turned on” the VM every time I turned on my computer), and I set the “Automatic Stop Action” to shut down the VM when I shut down the computer. Otherwise, it would have taken a “Snapshot” so that it could instantly reload whatever I was doing in the VM the next time I ran it, which I don’t need to do for my purposes now.
I also checked out the size of the Virtual Hard Drive, and found that it was automatically set to 128GB. That’s bigger than I was planning, but my computer has lots of Hard Drive space, so I’m not worried about it right now. The main thing is that once I no longer plan to use this VM, I need to remember to delete it, because that’s a pretty big file.
Settings explored, I went back and clicked “Connect”
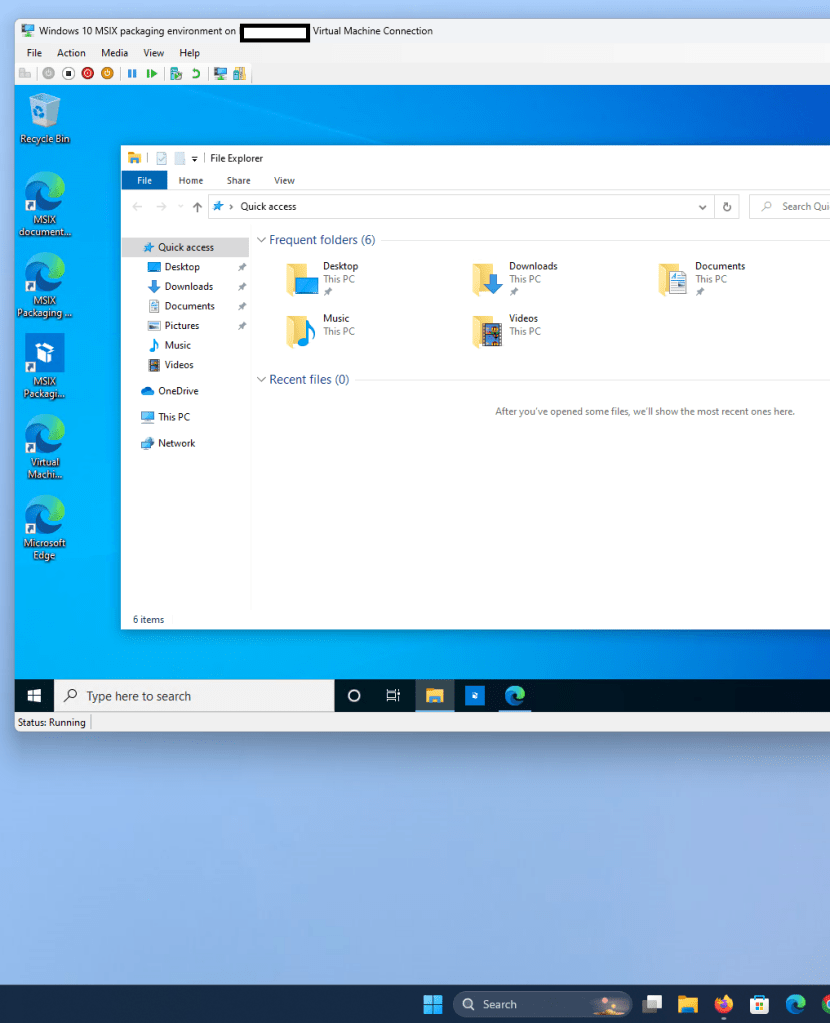
Ah hah! And now I have a VM running Windows 10 inside my computer running Windows 11! I guess it’s a full environment and not just a single purpose tool. A few minutes of going through Windows setup later and I’m running an evaluation copy of Windows 10, which is fine. I like it better visually than 11 anyway 😛
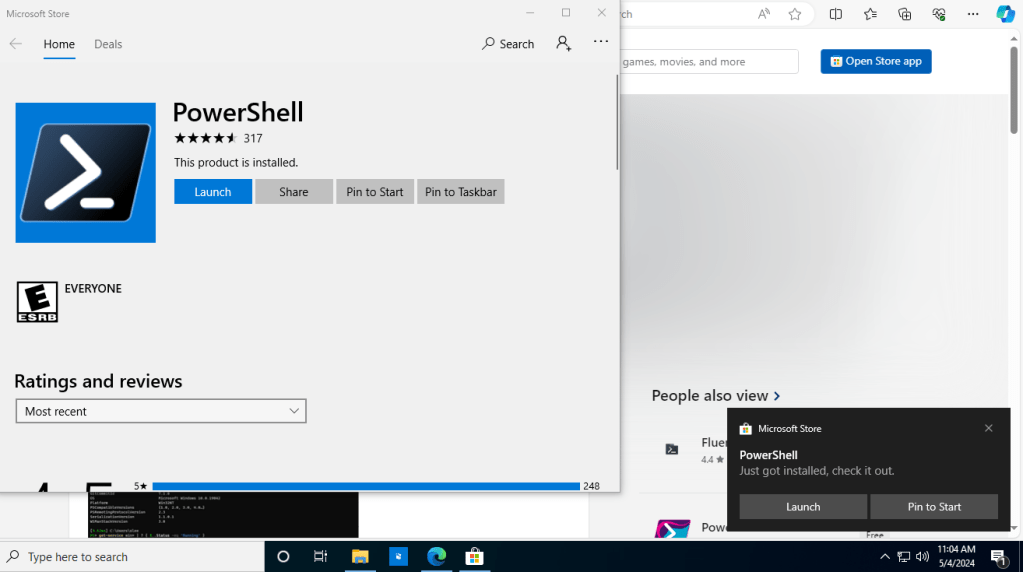
The next step is installing PowerShell – which is free from the Microsoft App Store, so I just have to find it and install it…
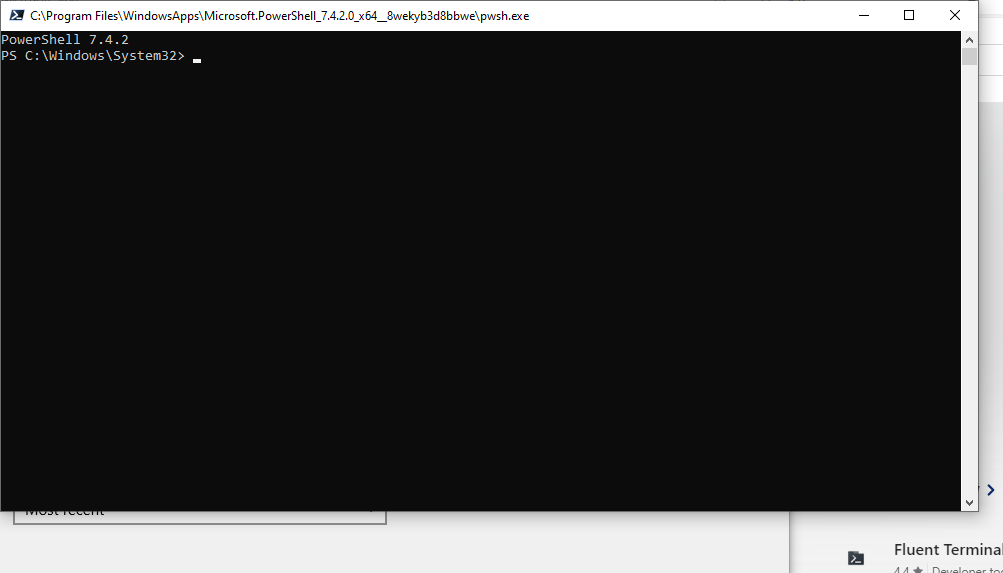
And now I have PowerShell running in my Virtual Machine! Those of you of a certain age may recognize it as looking a lot like DOS or Windows Command Prompt. That’s basically what it is!
So now I’ve got my environment all set. Next post, I’ll be going back to the book and starting to script in PowerShell!

Leave a comment